
Prior to following the instructions on this page you must have have:
- Created a bootable flash drive containing the Mac OS X installer of your choice: You need this to do the OS X installation
- Installed a new drive (preferably an SSD drive) in your computer, and installed the old drive into an external USB drive enclosure
Both steps are easy, don't worry about it. In the first step you're downloading a large quantity of data, then writing some of it to a flash drive. In the second you are opening up the computer and doing a simple component replacement.
With those preparatory tasks out of the way, you're ready to install Mac OS X onto the new drive sitting inside your computer.
Attach the Thumb Drive to a USB port on the computer. DO NOT attach the external disk holding the original drive to the computer. We don't want to accidentally overwrite the old drive, do we?
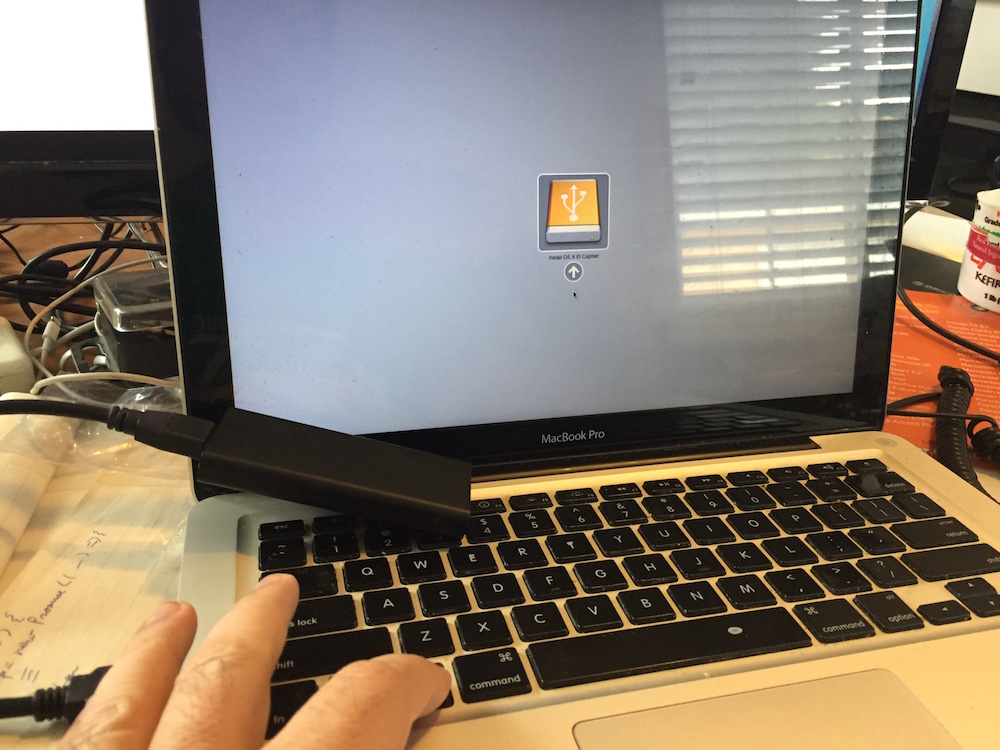
The computer is probably turned off, yes? Turn it on or otherwise reboot your computer, and immediately hold down the OPTION key as shown above.
Holding down the OPTION key is a standard way to select the drive to boot from. Generally speaking it presents icons for bootable drives connected to the computer. In this case there should be only one icon presented, as shown above.
Click on that icon to select it, then double-click. The computer will proceed to boot from the installer drive.
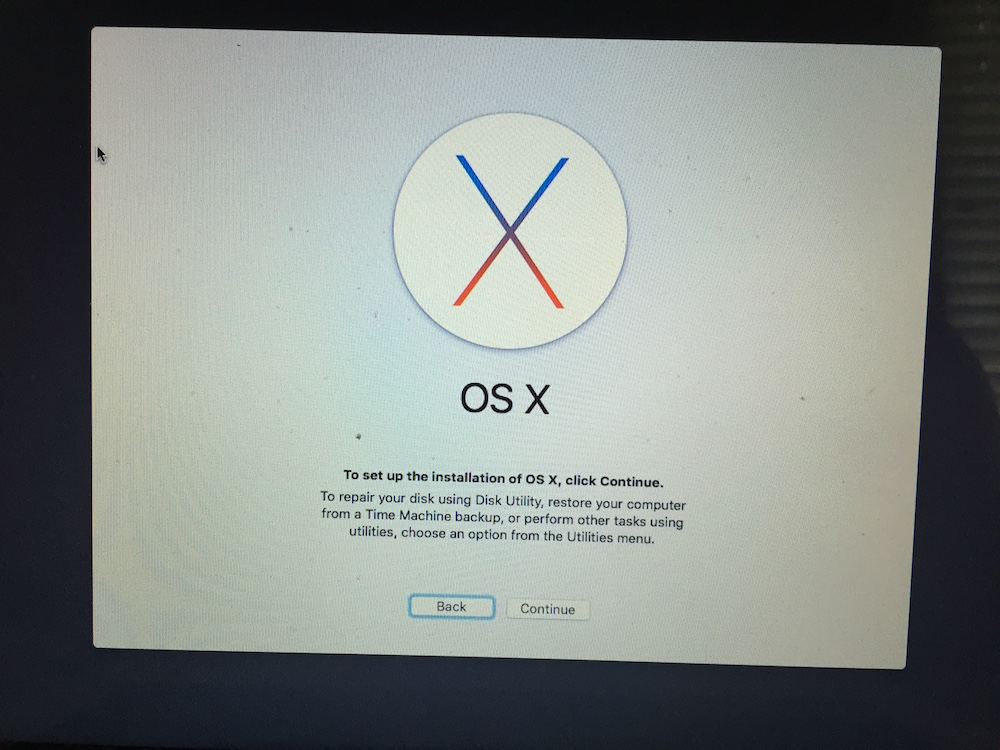
You will eventually be presented with a screen that's the beginning of the installation. DO NOT PROCEED WITH INSTALLATION,
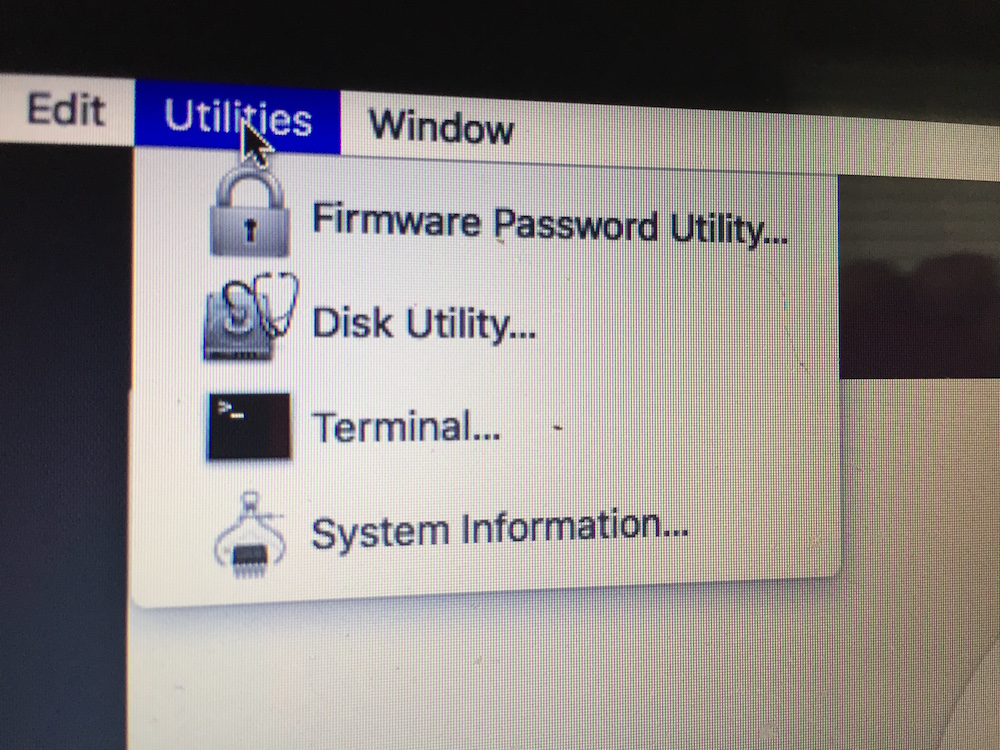
Instead, go to the Options Menu and choose Disk Utility.
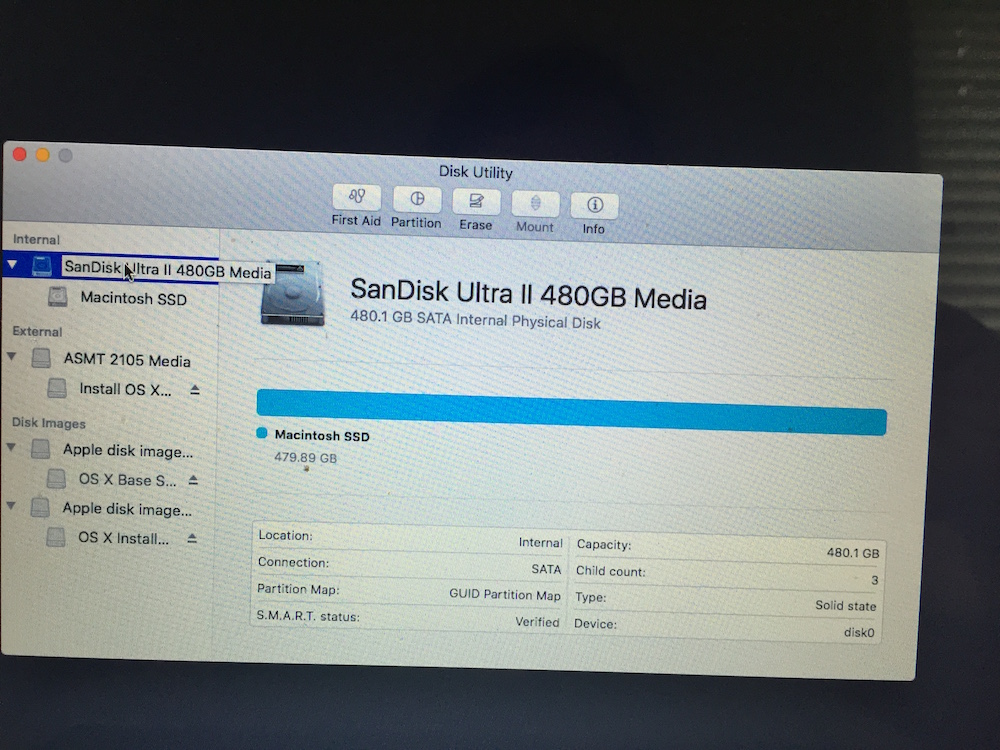
In the Disk Utility we need to format the SSD drive. It'll be shown in the list of drives on the left. Select it, and then click the Erase button at the top.
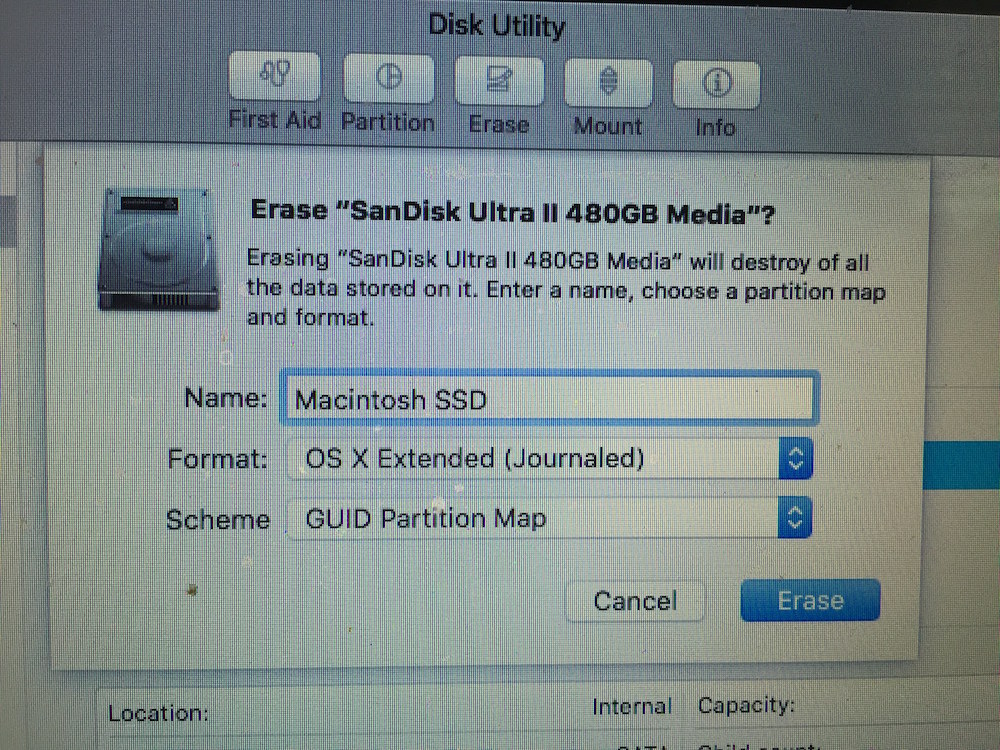
Give it a name, like "Macintosh SSD", and start the formatting process. The name for the drive is (I think) arbitrary. When Apple sells the computer the name of the boot drive is "Macintosh HD" but we've swapped in an SSD so....
Once the disk formatting is done, exit the Disk Utility. The installer window will reopen.
NOW START THE INSTALLATION
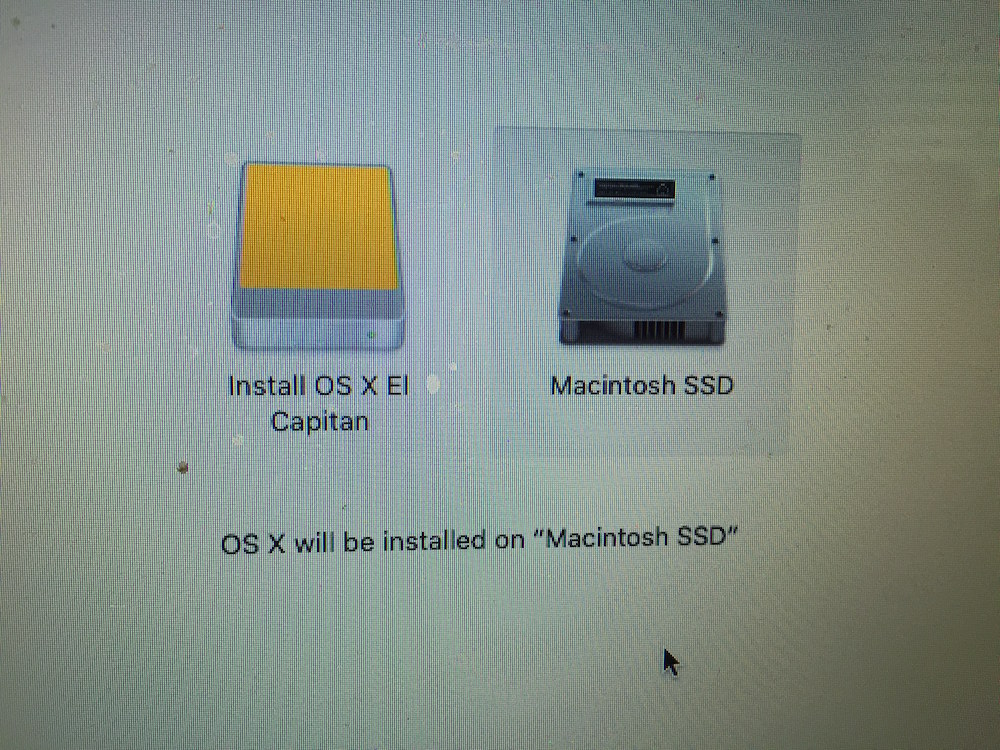
Select the correct SSD drive as the installation destination.
The installation process will start itself after that. If you get to a screen that says "OS X could not be installed on your computer. No packages were eligible for install" then there's a little bit of a problem, because the installer won't continue beyond that point. Go to http://davidherron.com/book/2016-10-16/installing-macosx-when-installer-says-os-x-could-not-be-installed-your-computer-no and see if those instructions help.
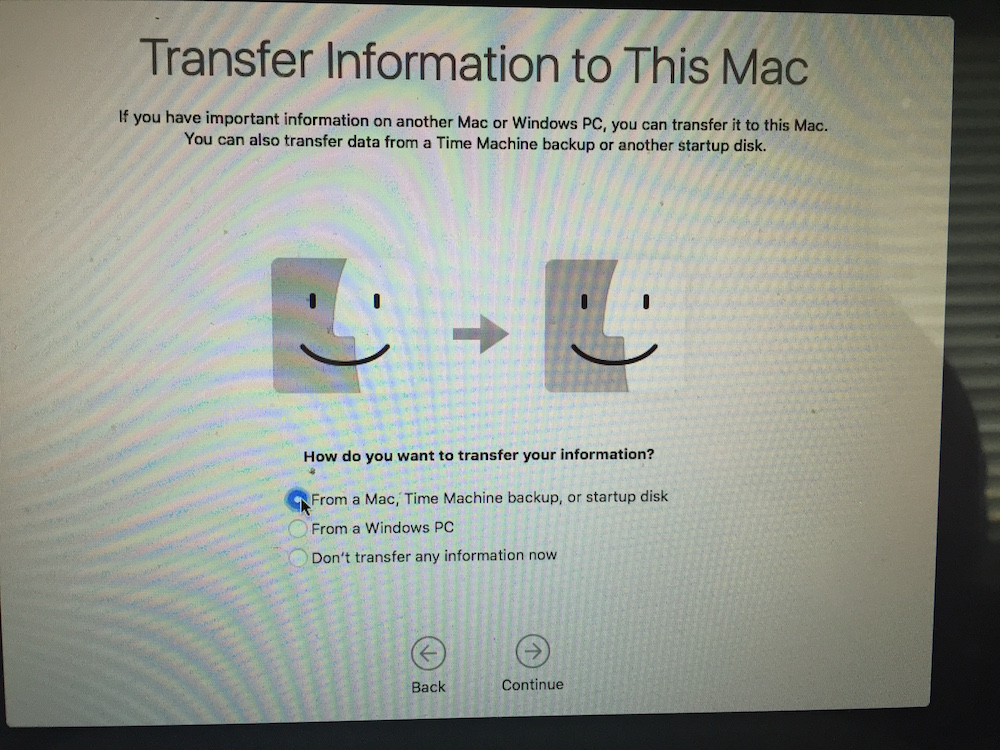
During the installation process you'll be asked about migrating files from another computer, or an external drive, or a time machine backup. For example, you can transfer data and applications from one Mac to another by connecting them together. Or, if you have a Time Machine drive (and -- you should -- since it's the easiest way to backup your computer) the system can be restored from that drive.
In our case, we've got the old drive safely ensconced in an external USB enclosure. IT IS NOW TIME TO CONNECT THAT DRIVE TO THE COMPUTER.
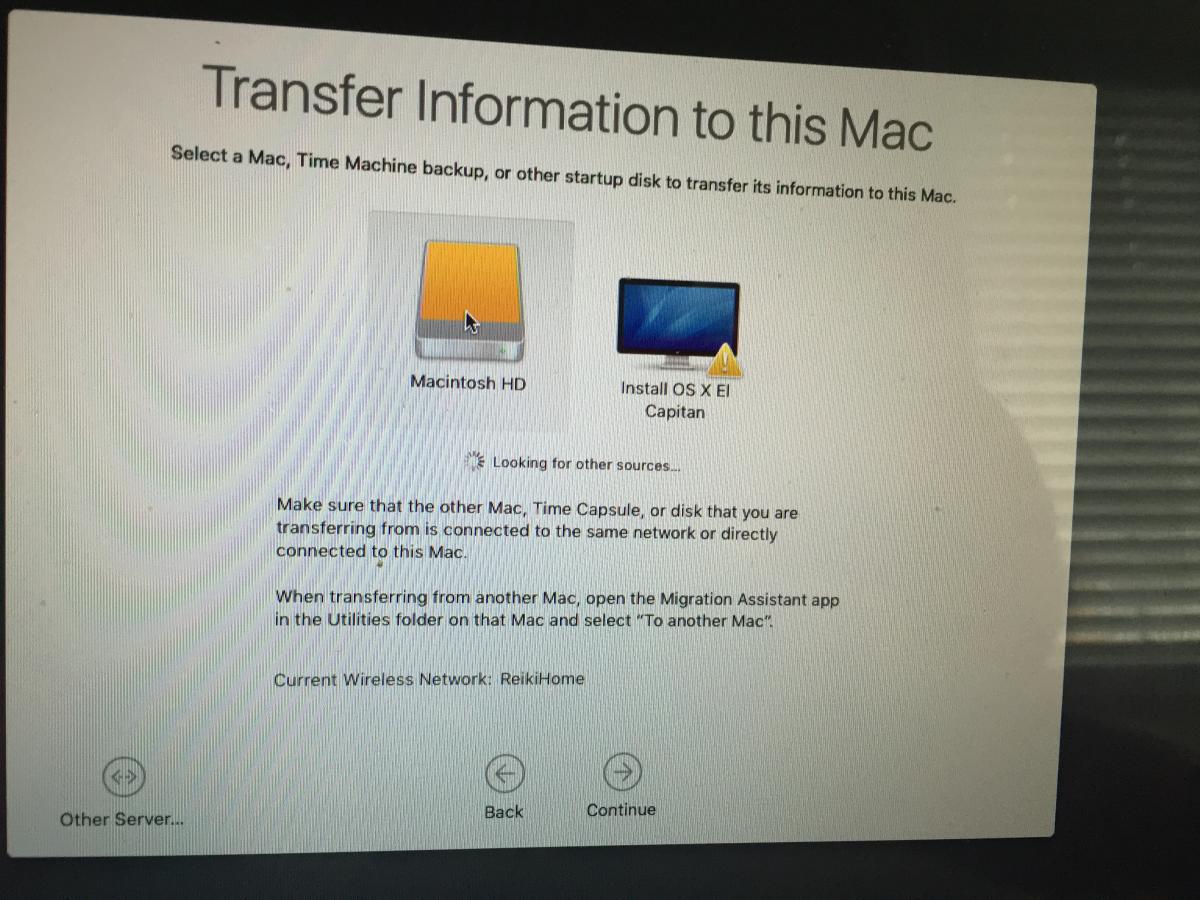
Select the old drive as shown here. This is the Mac OS X Migration Assistant. If you want to skip this step at this point, it's possible to do it after installation is complete, by using the Migration Assistant (located in /Applications/Utilities).
Afterwards your computer will spend quite a long time transferring files and applications from the old drive to the new drive. Consider taking a long walk or something.
Once it is done -- the one I just did took about 2 hours -- the computer will reboot off the internal drive. Notice how much more quickly it boots off SSD?